Project Description
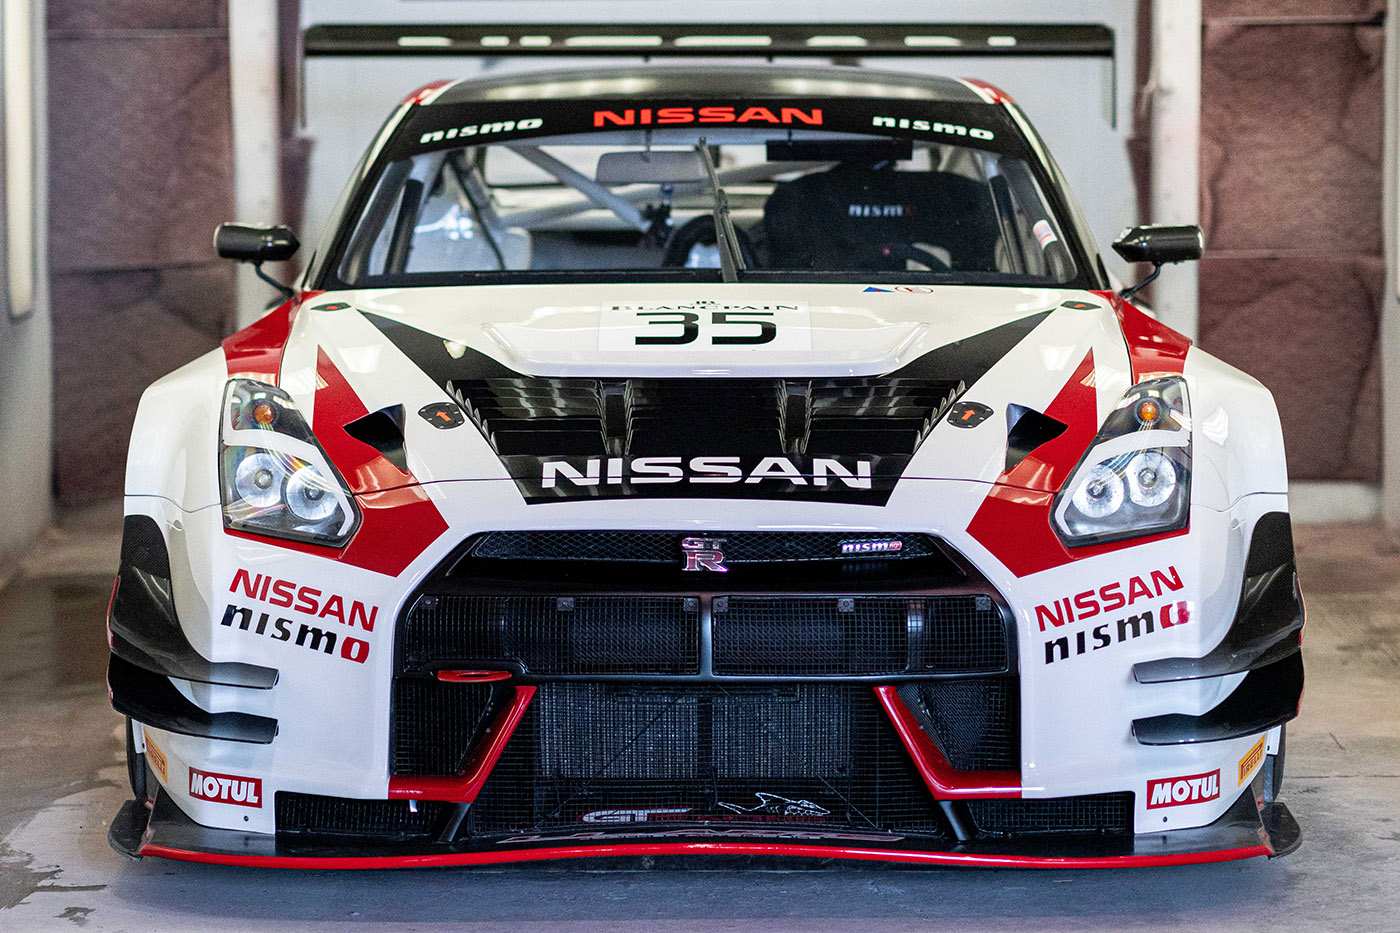
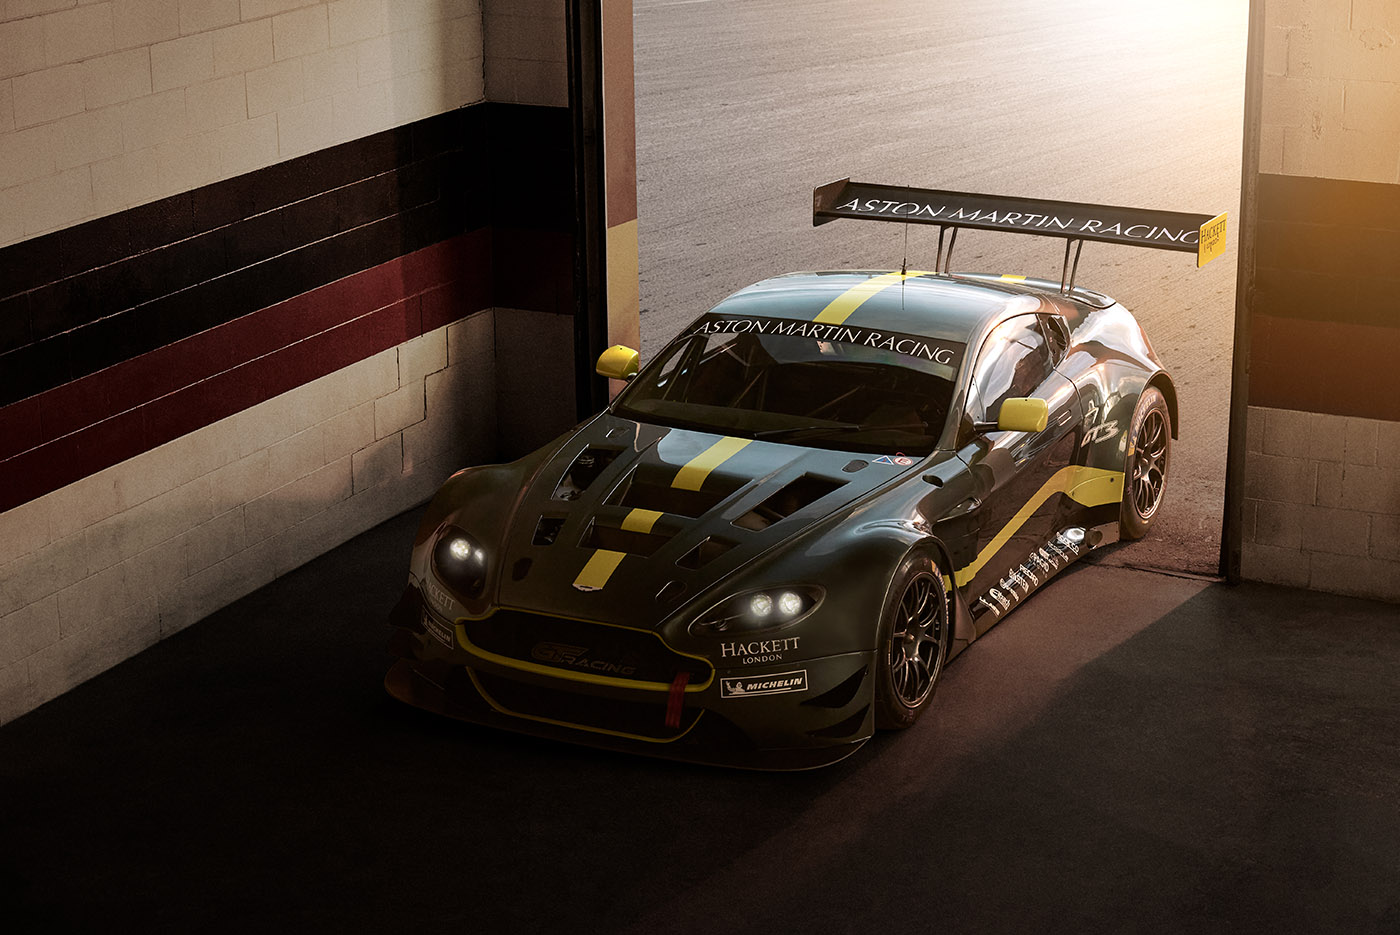
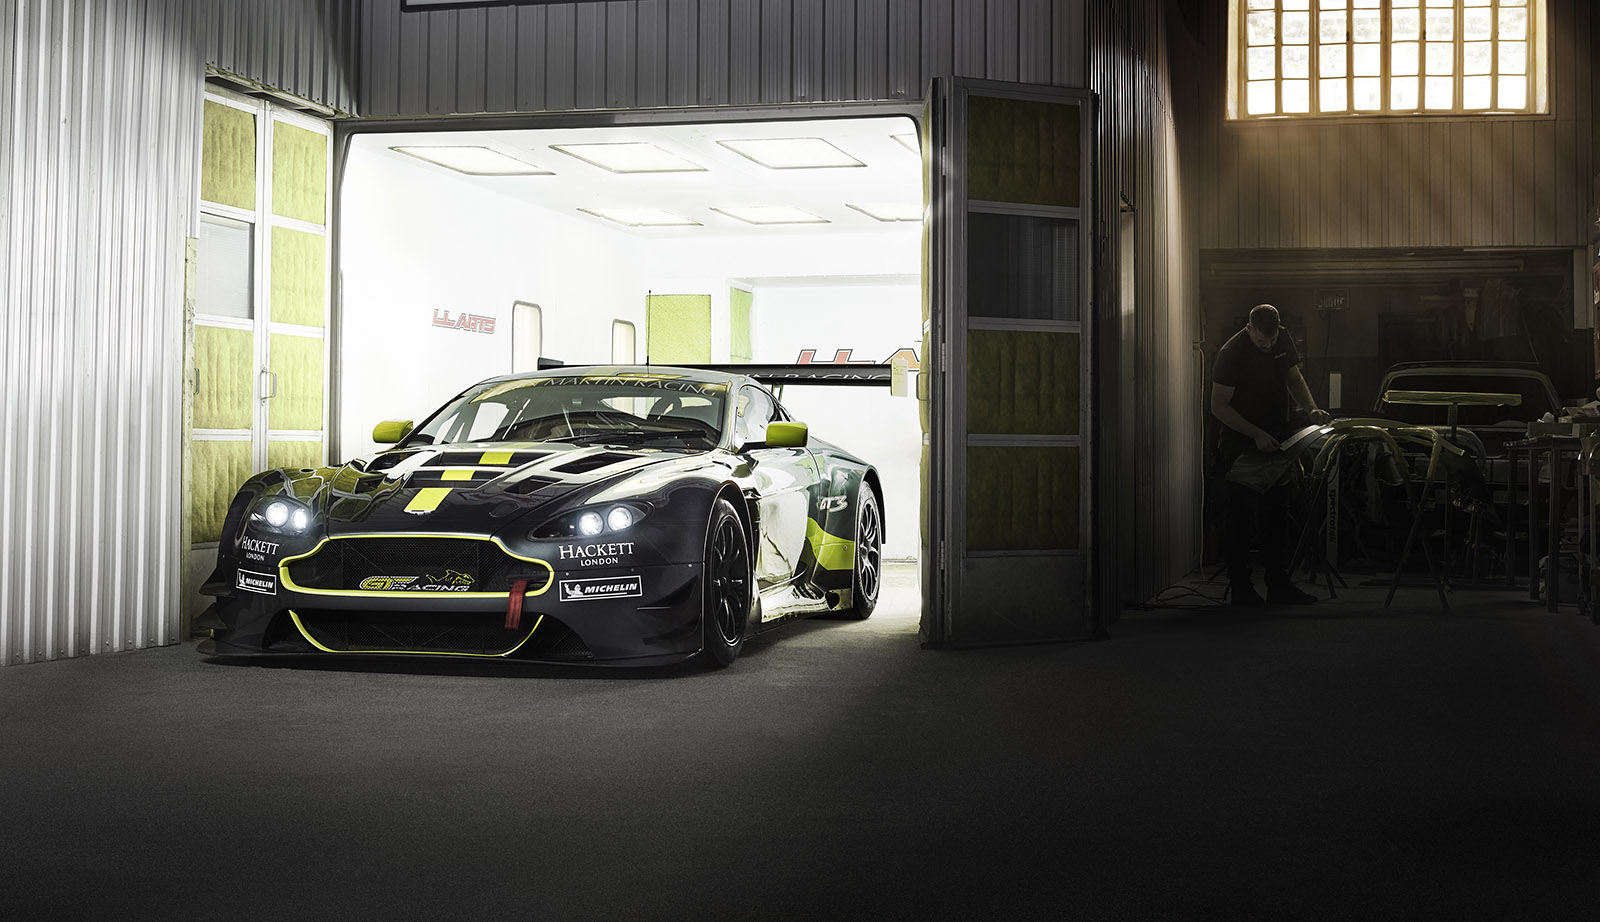
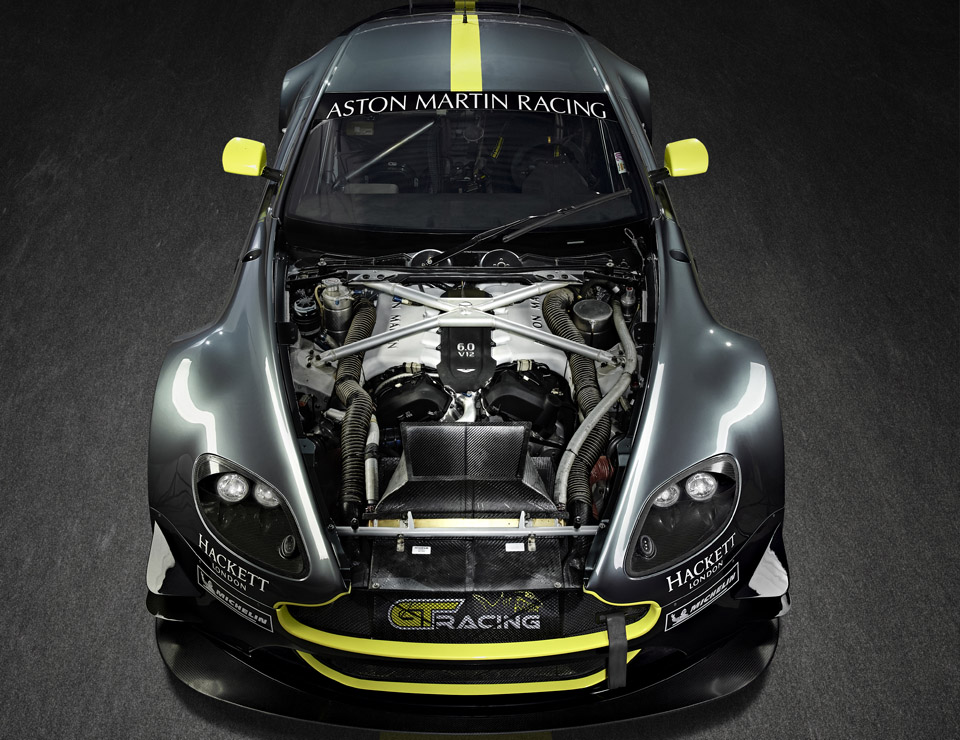
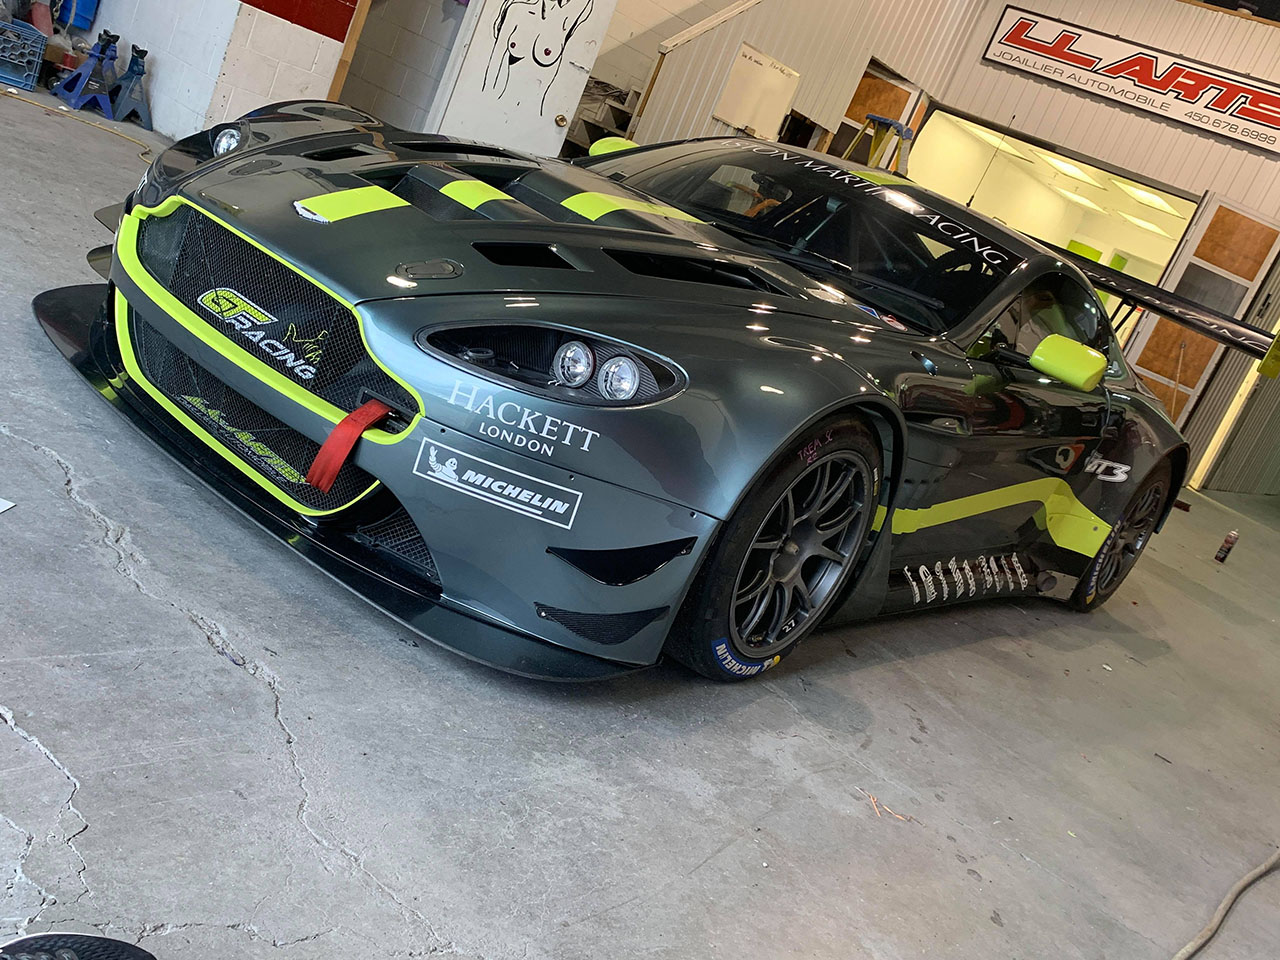
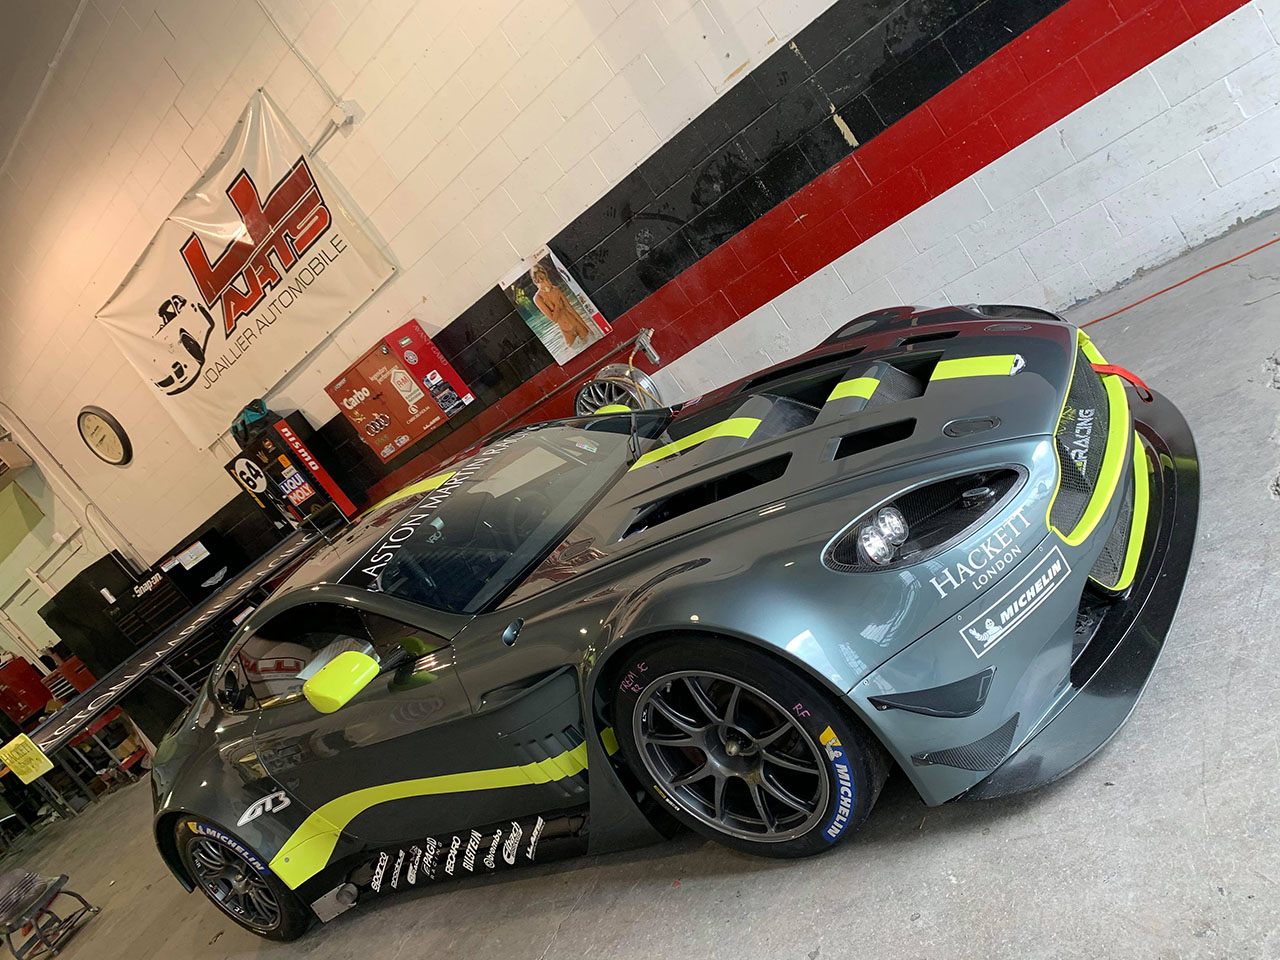
These first photos are the final result of my work.
For more details scroll down.
The following photos will show how did we achieve this masterpiece.
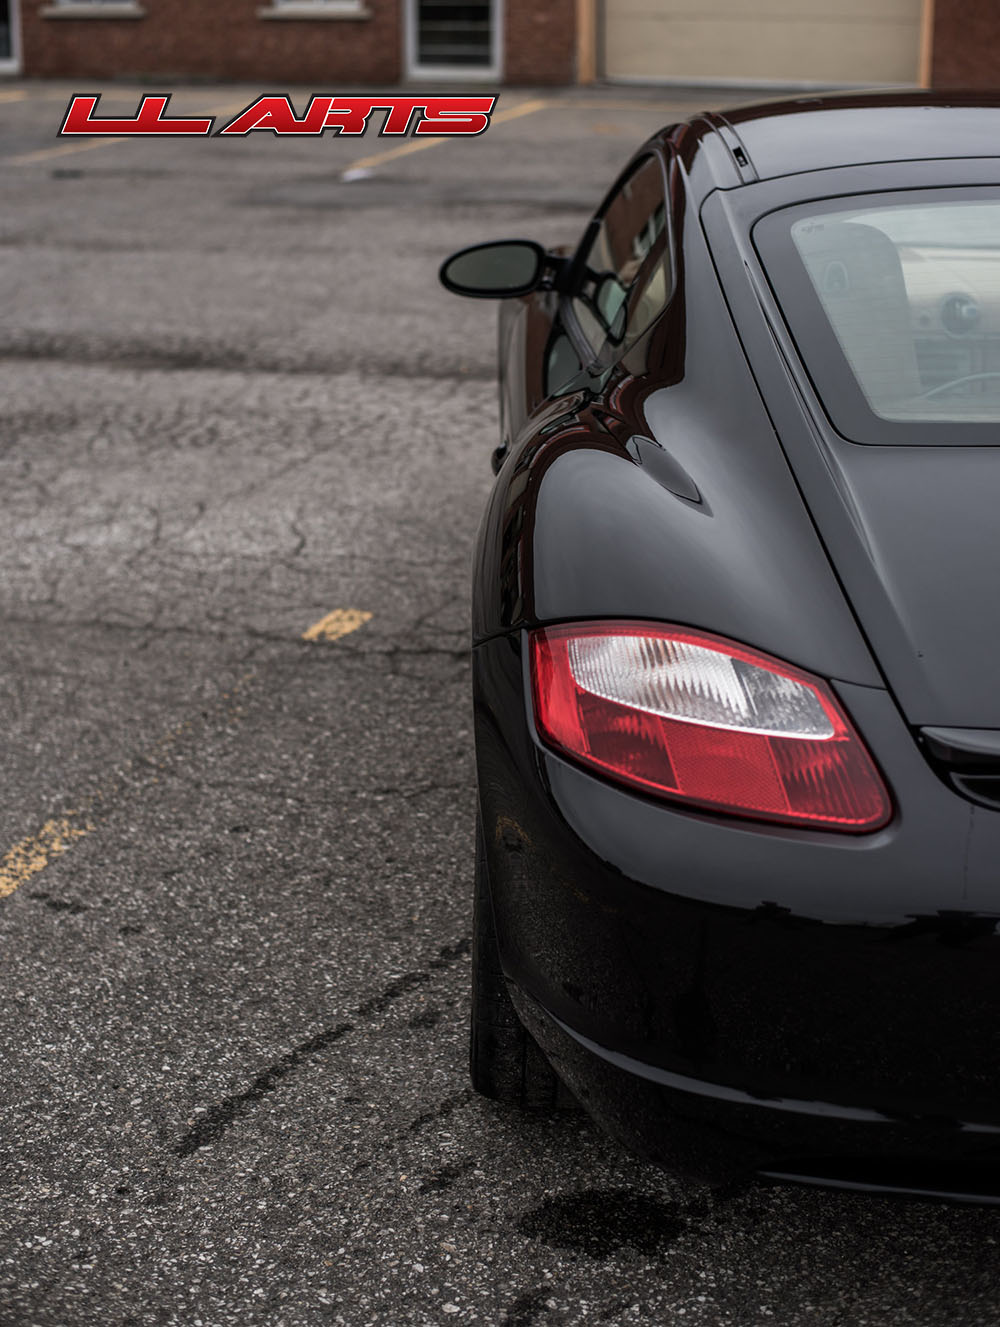
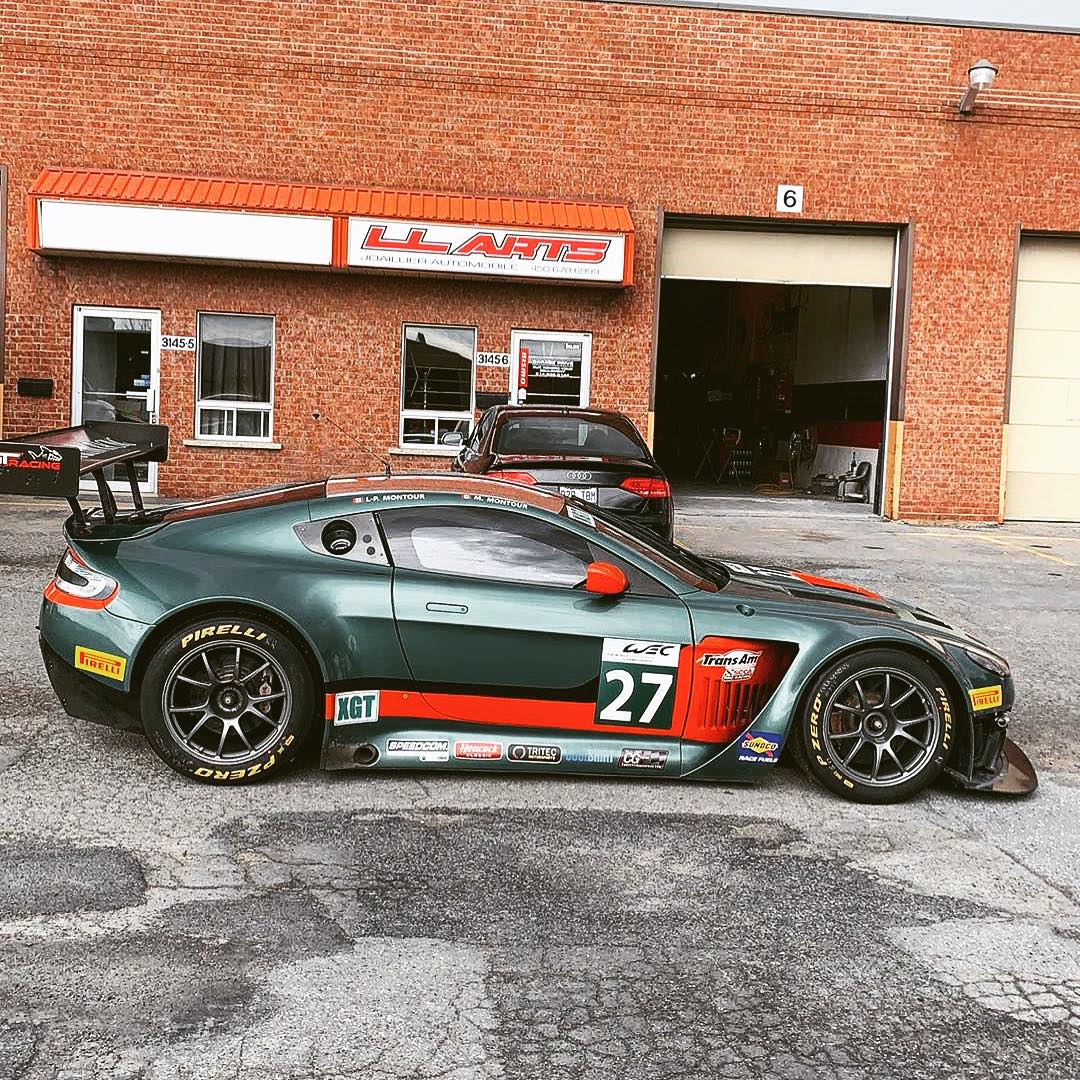
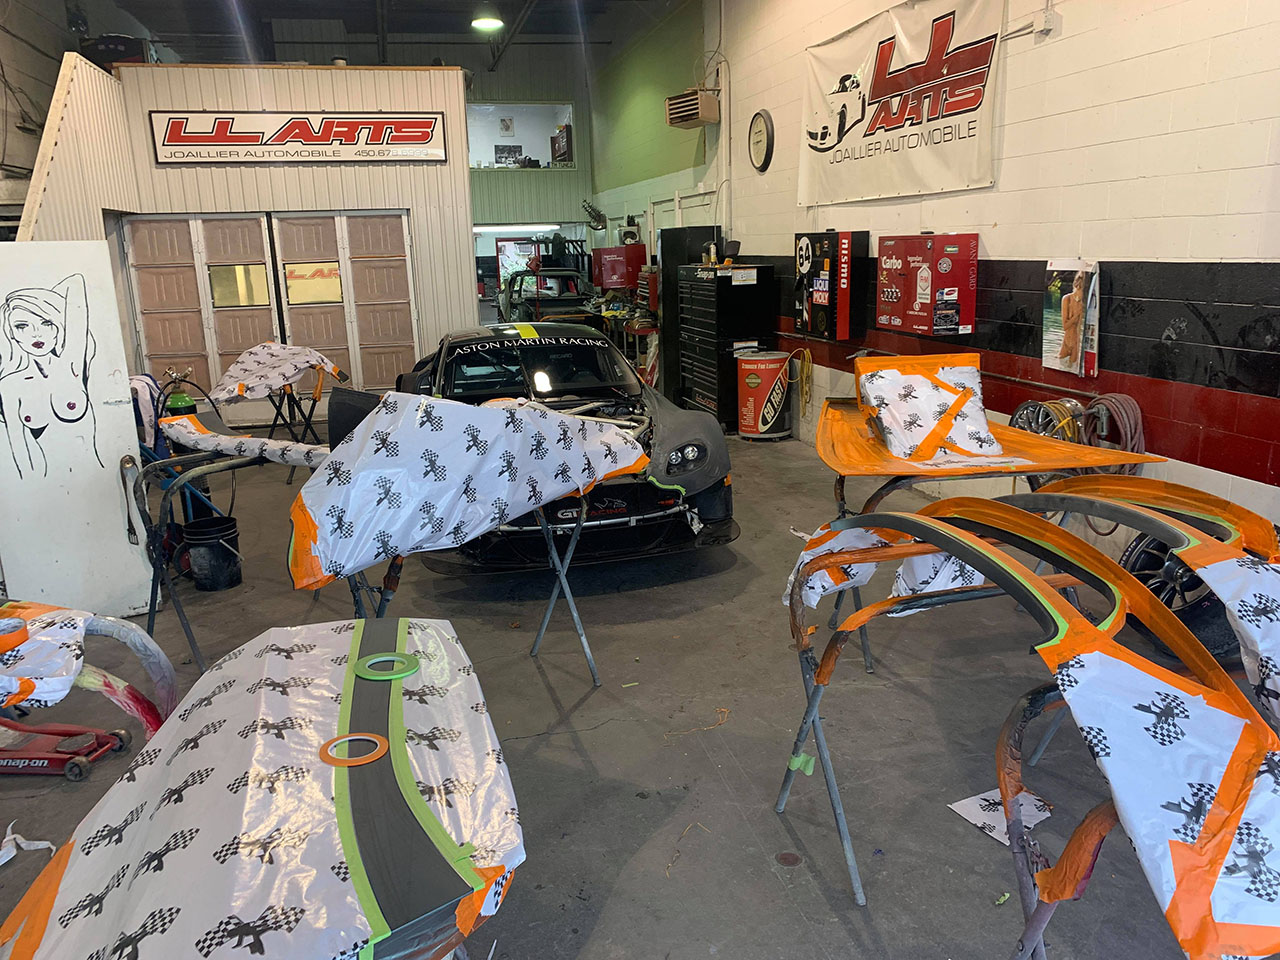
First, we need to get the car stripped down and sanded, This is how we got the car:
After a little bit of sanding off.
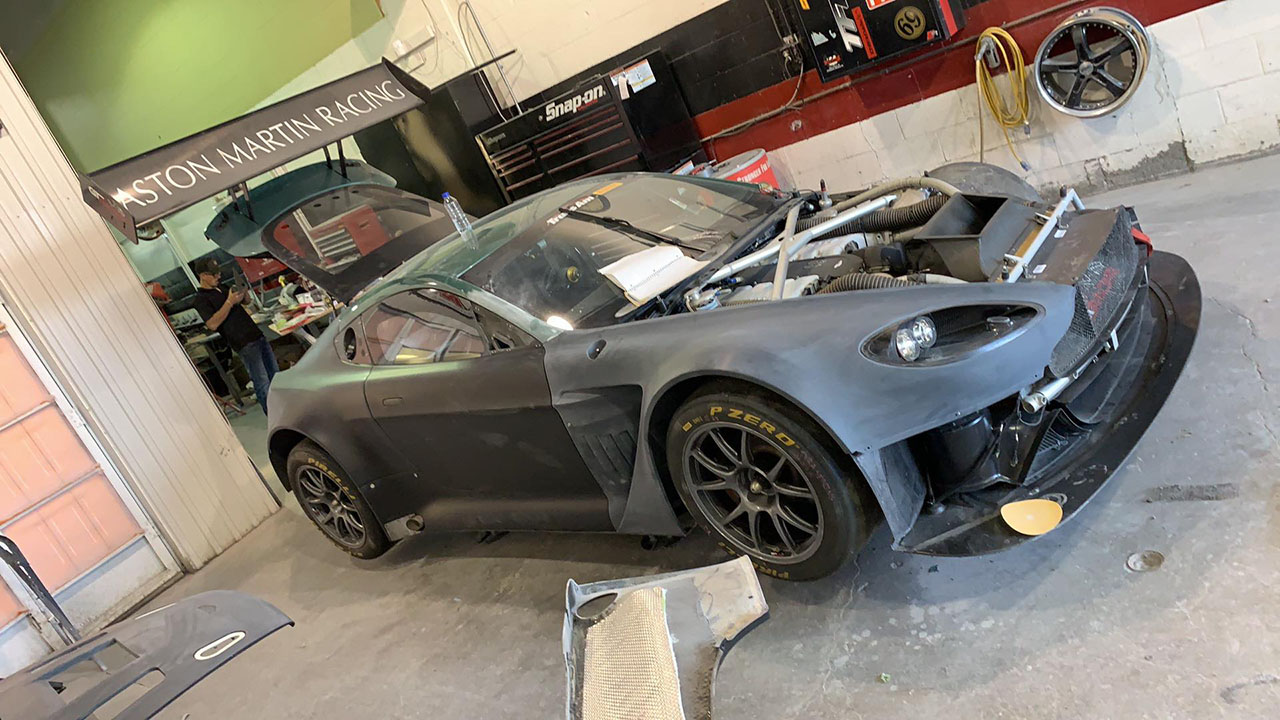
Panel removals
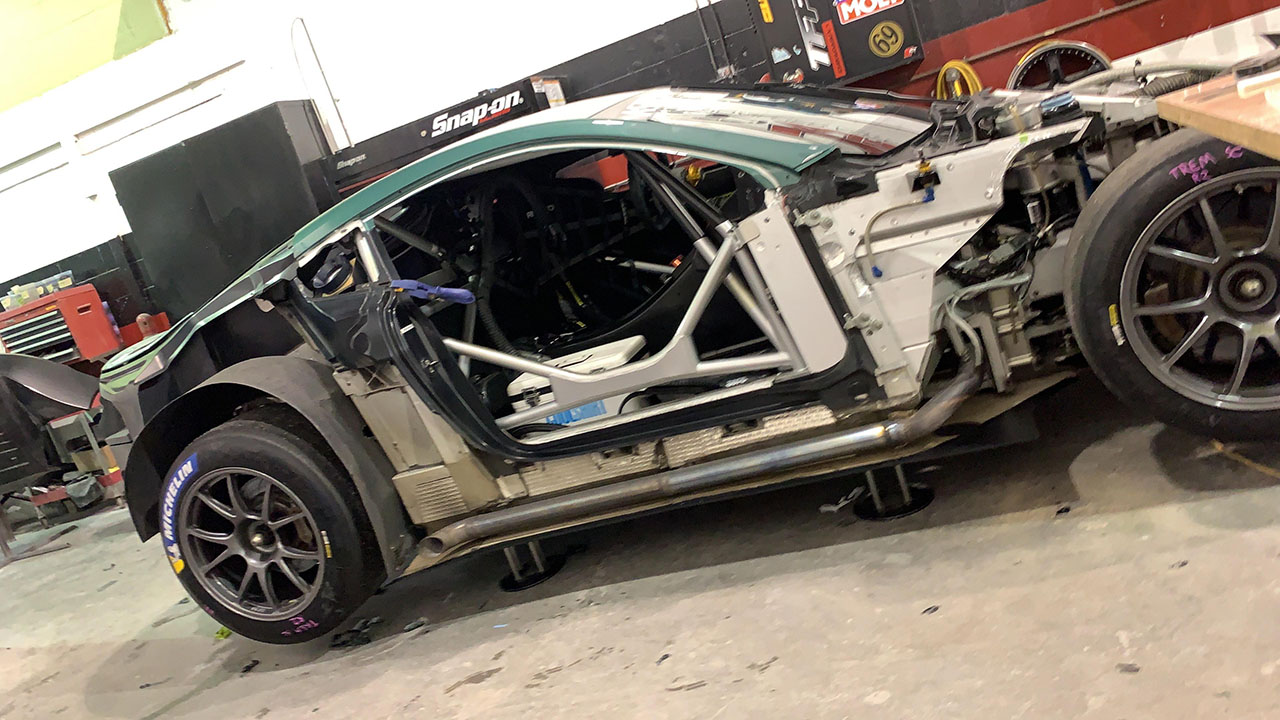
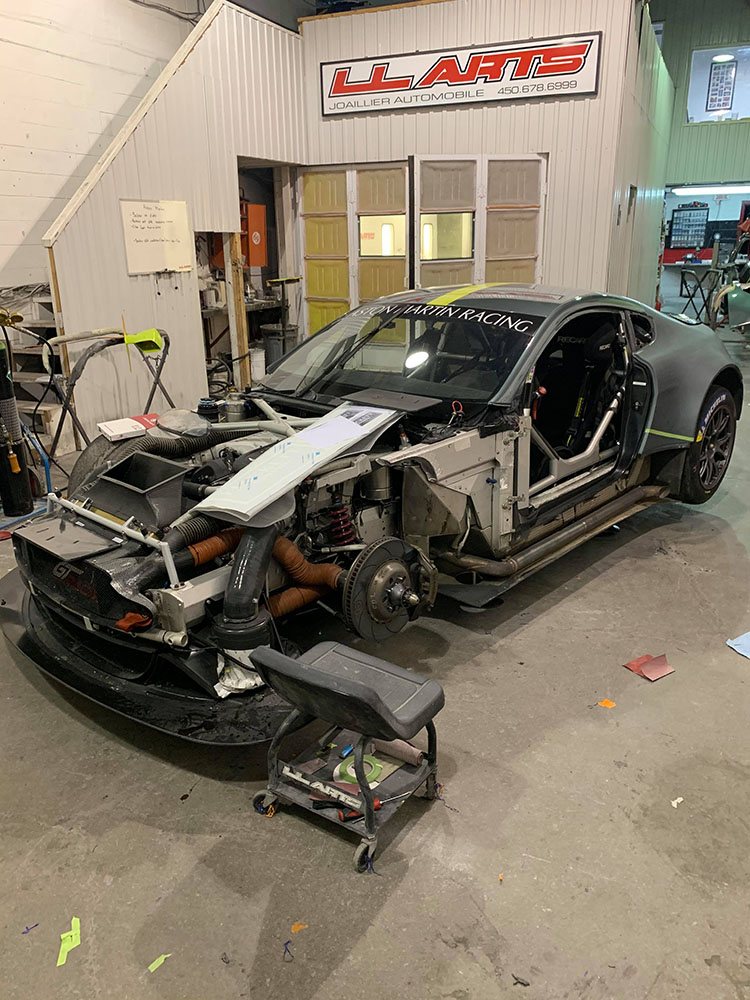
The whole front end and doors were removed.
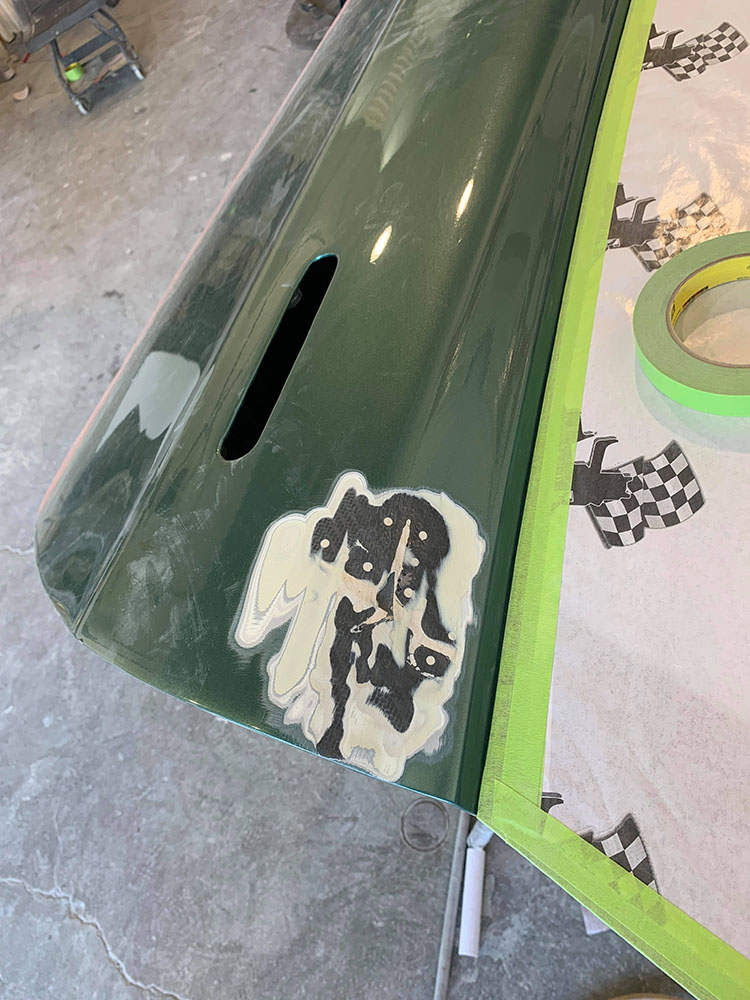
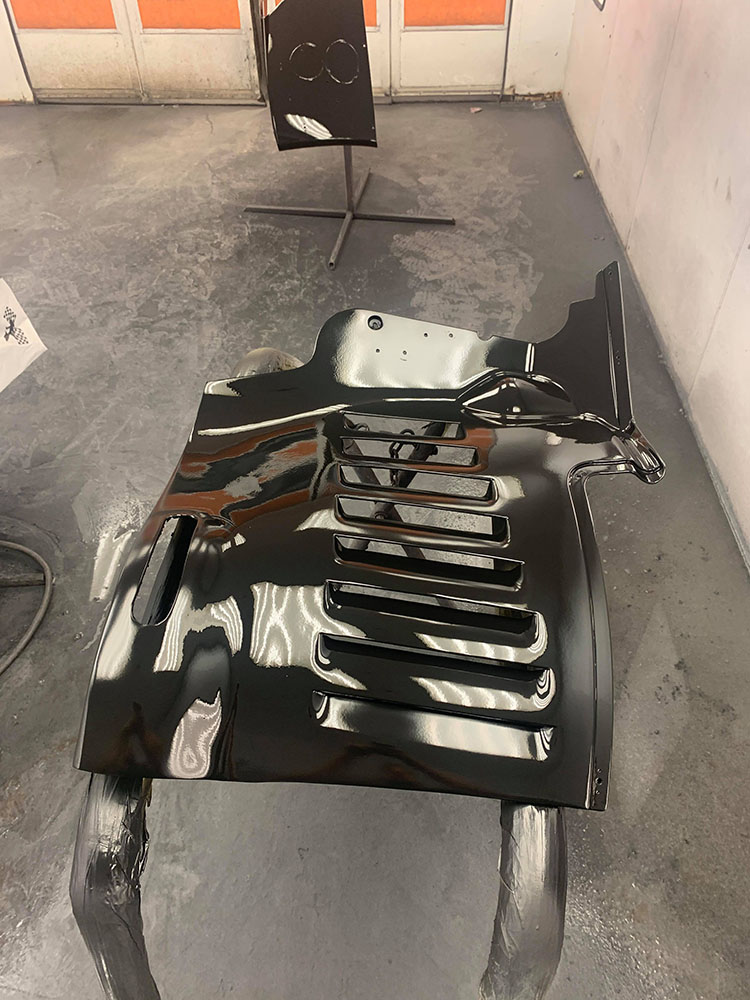
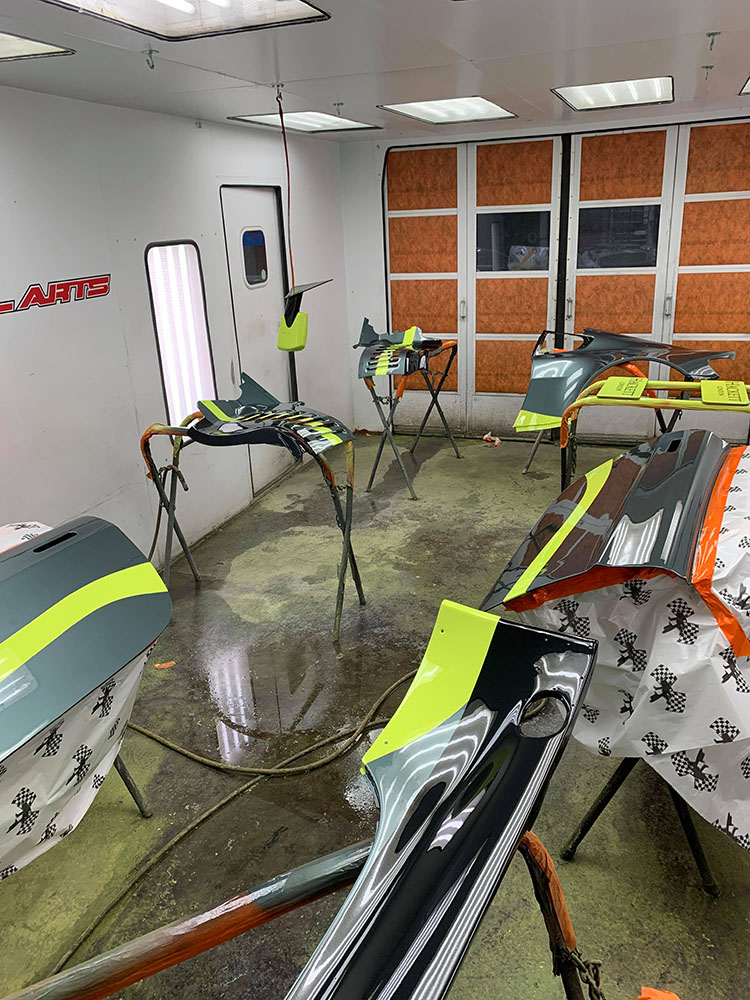
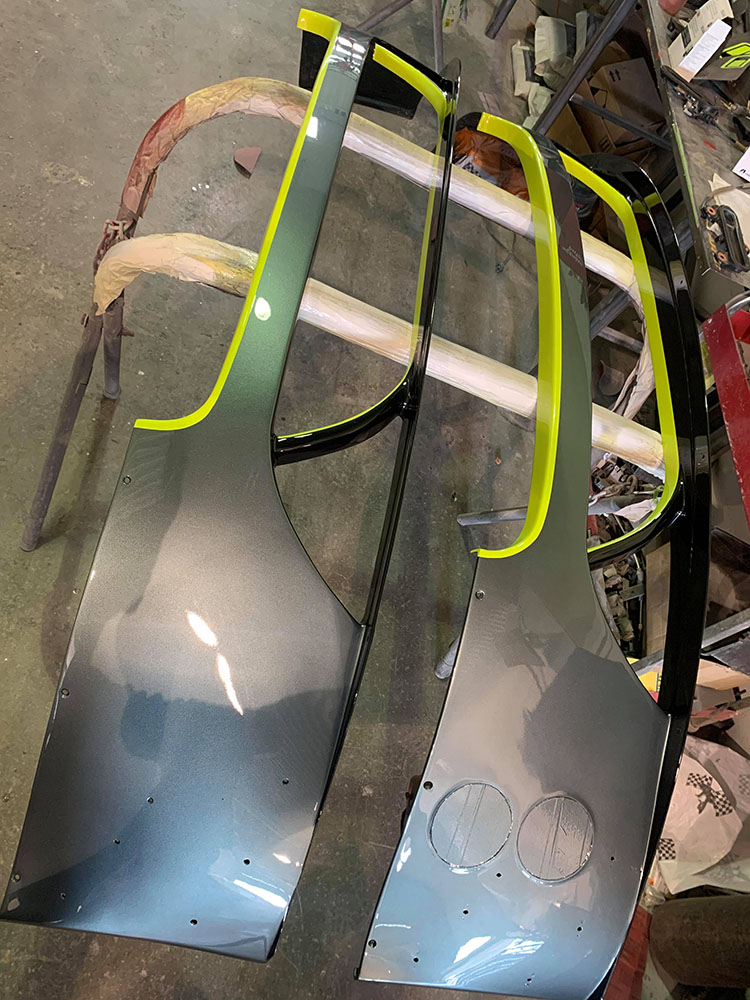
The 3 different colors, black, green, and yellow are all painted, no stickers or wraps here.
Here you can see the process of the front fender air intake.
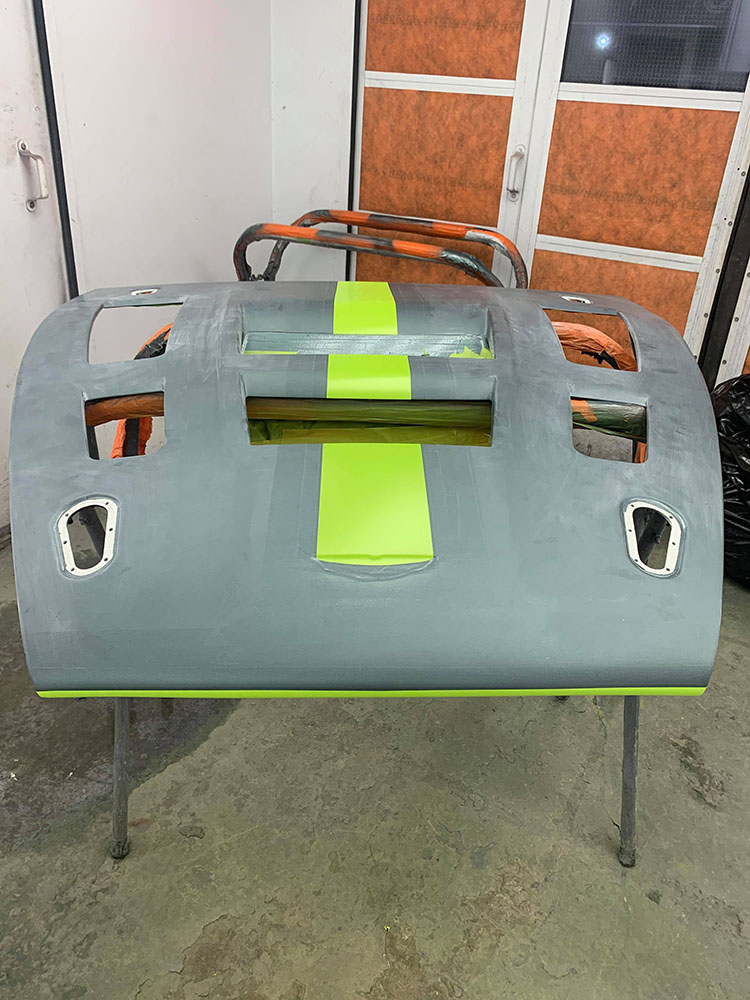
The first color coat is, black:
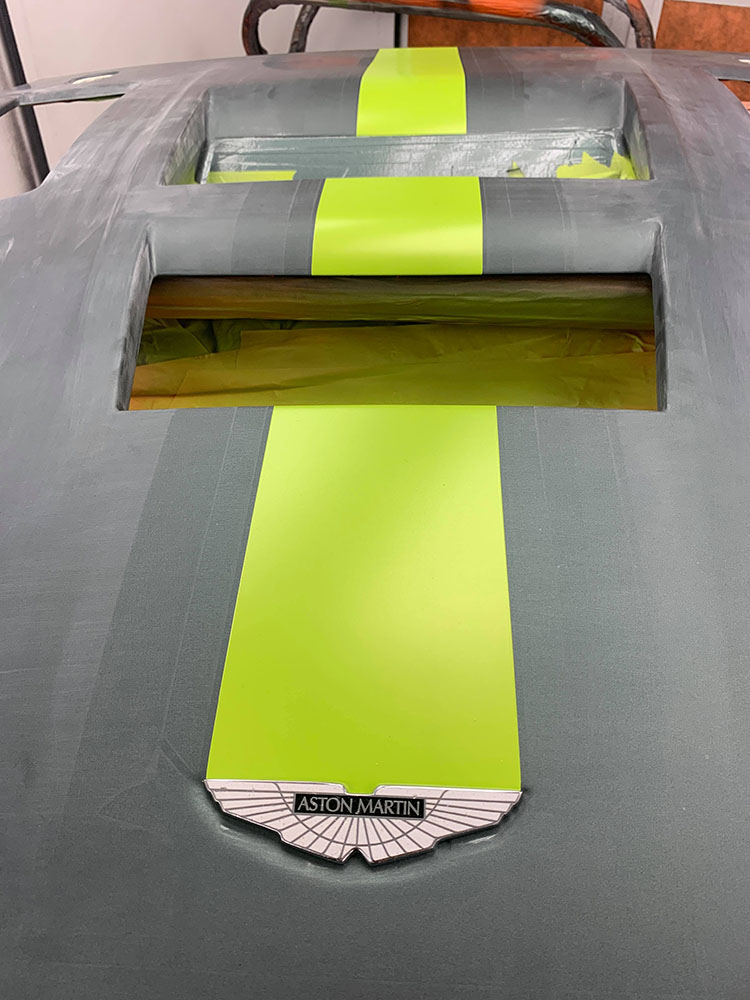
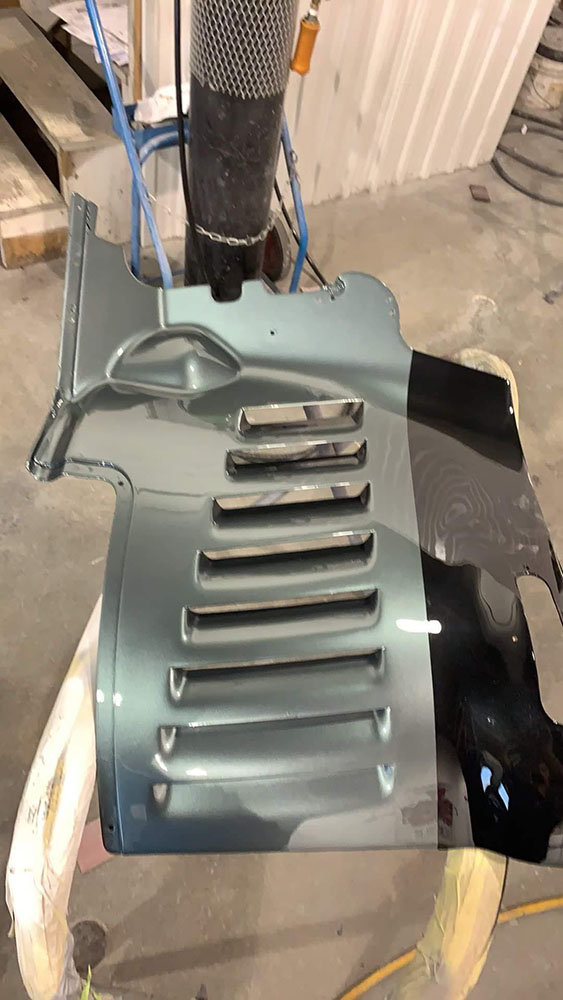
Then a coat of green is added:
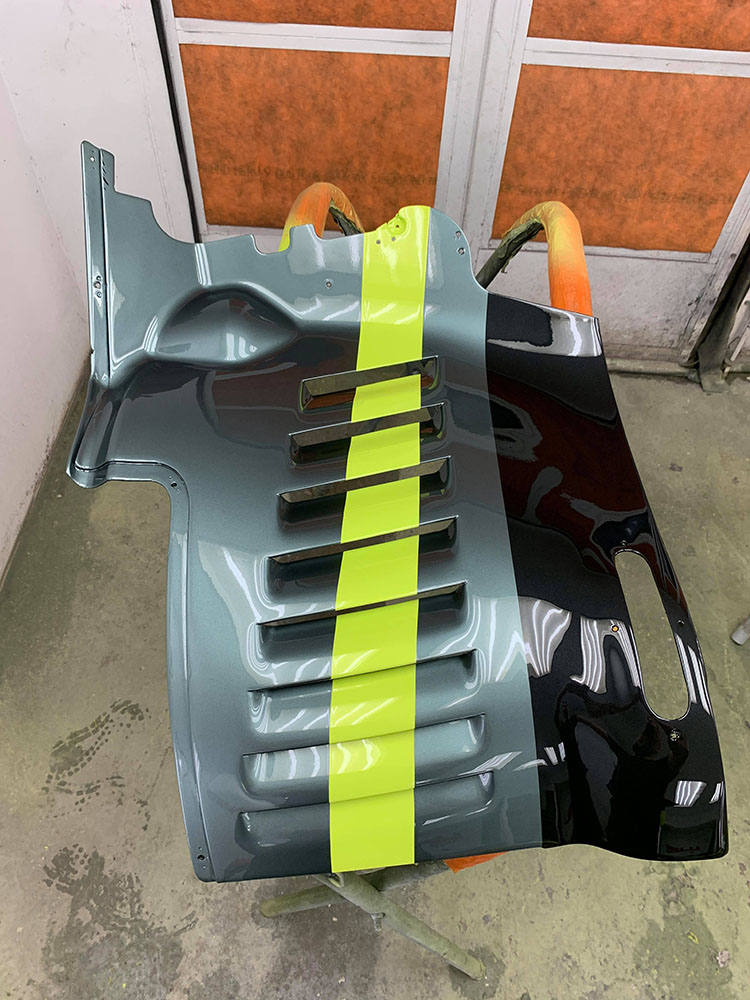
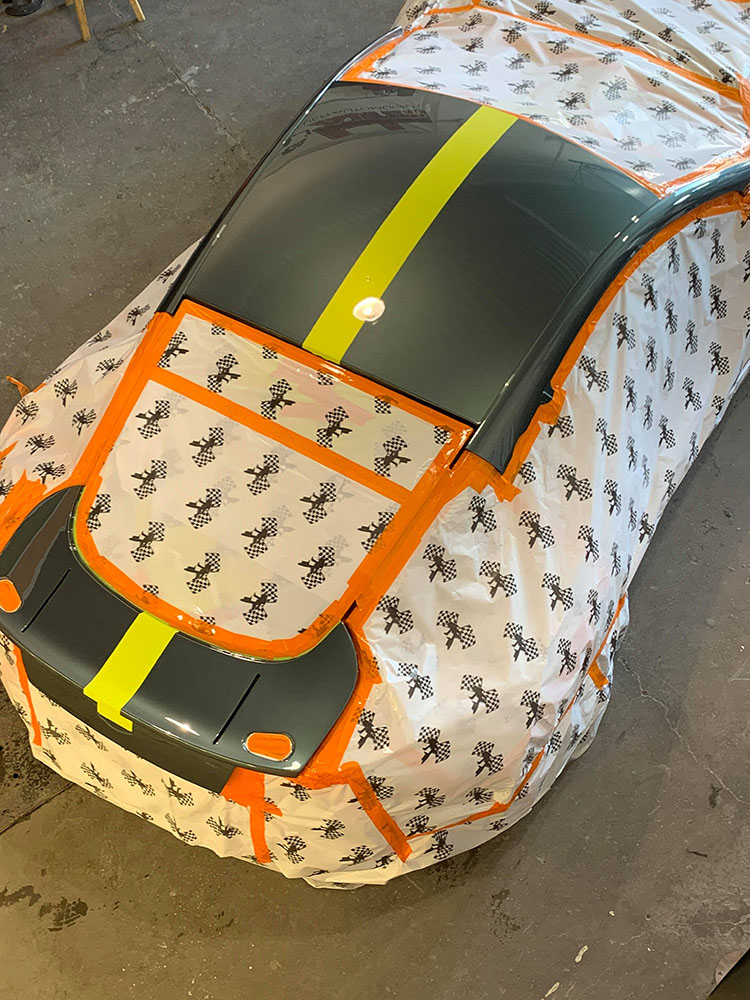
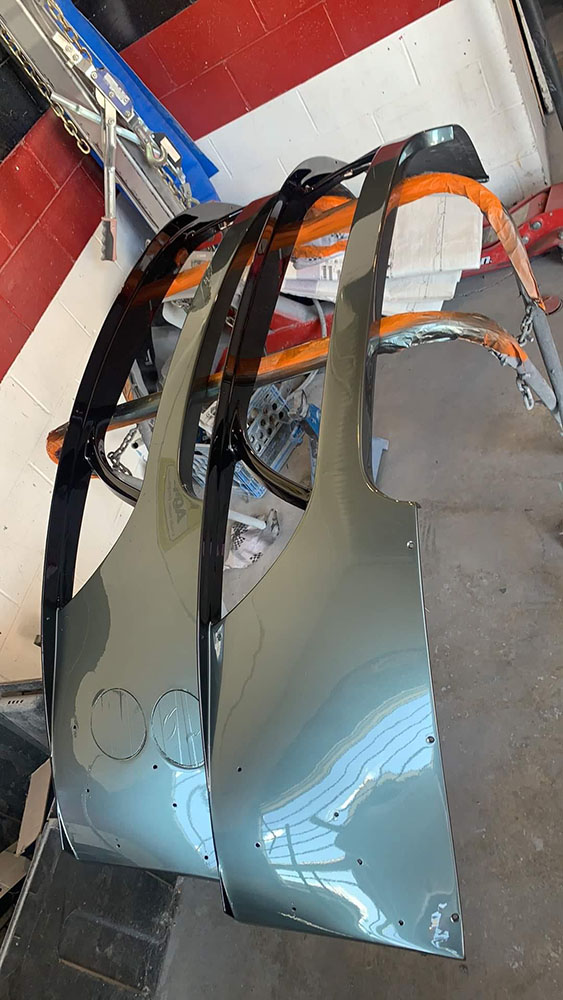
And then the yellow line, which will perfectly line up with the other body panels with the same color scheme.
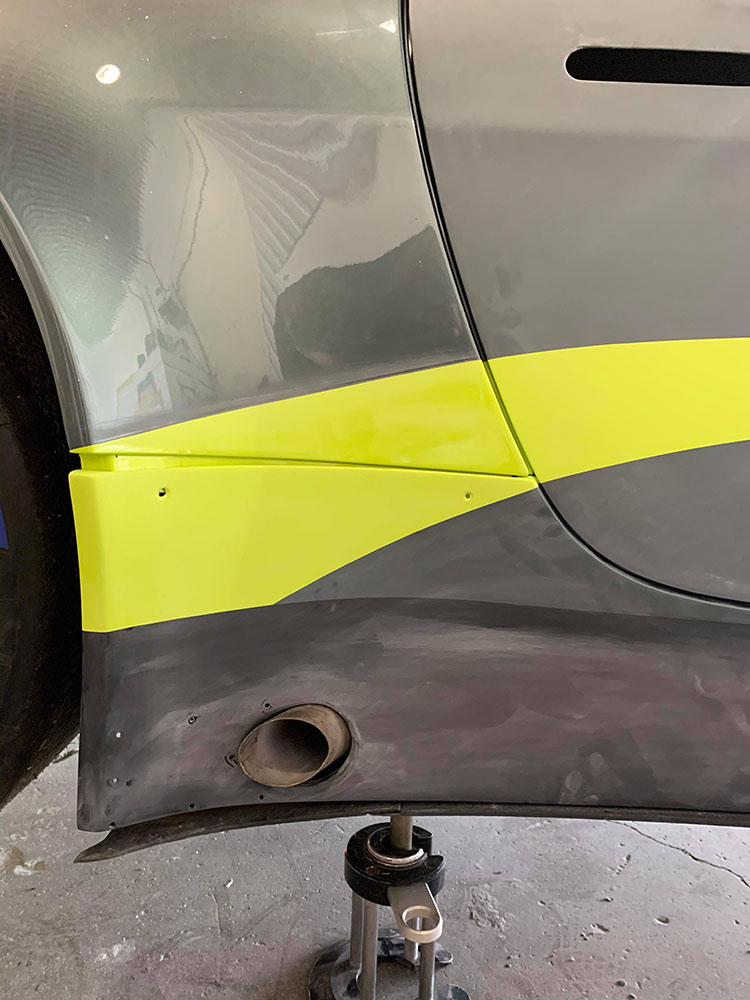
Here’s what I mean by lining up the body panels perfectly with the painted lines:

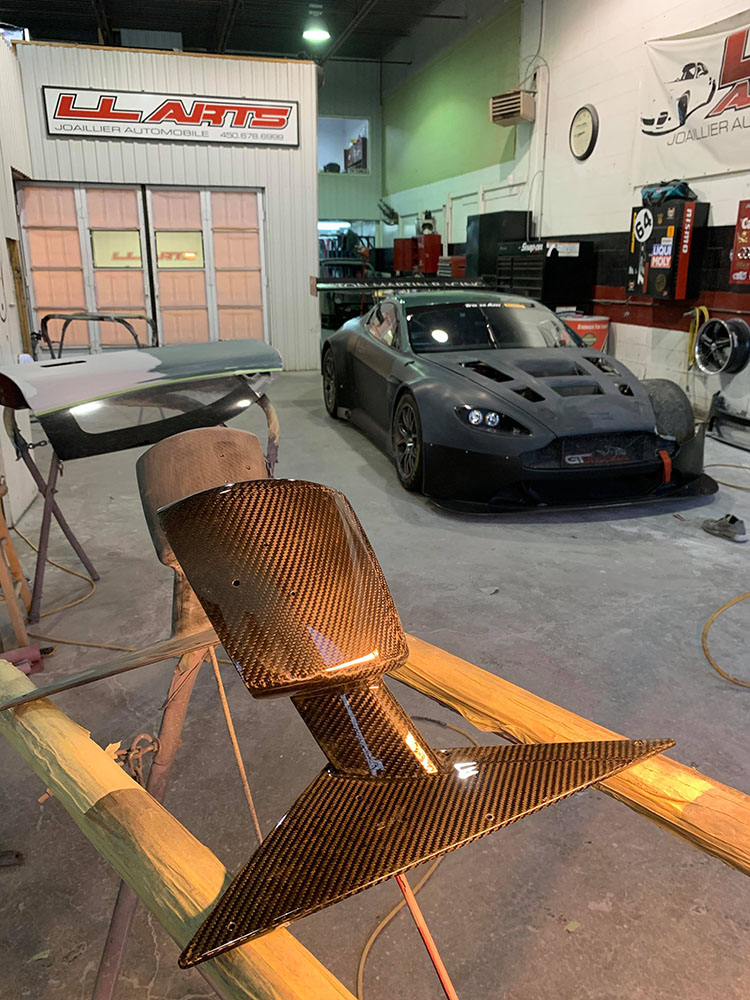
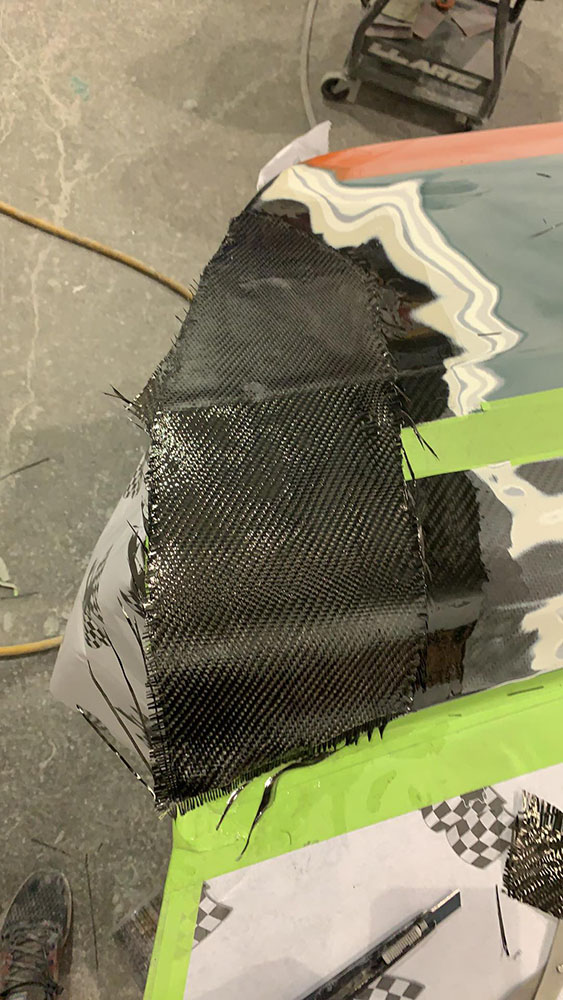
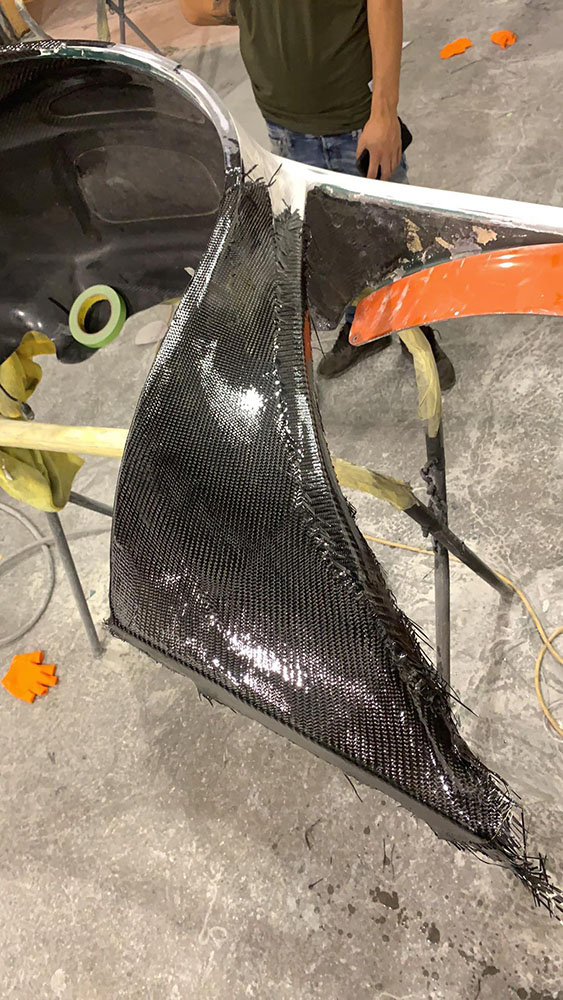
We also had to fix up some carbon fiber, the kind of work I am experienced with:
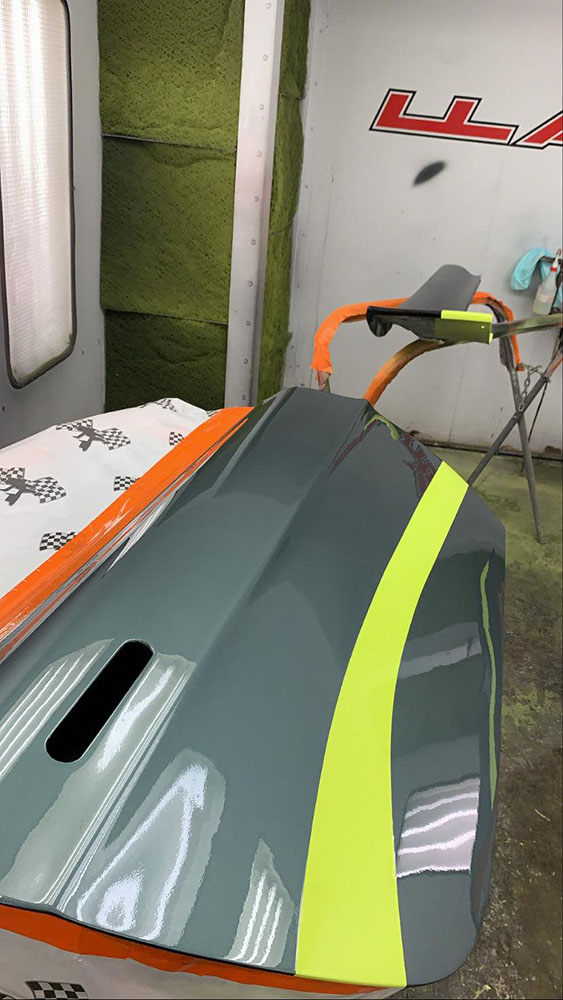
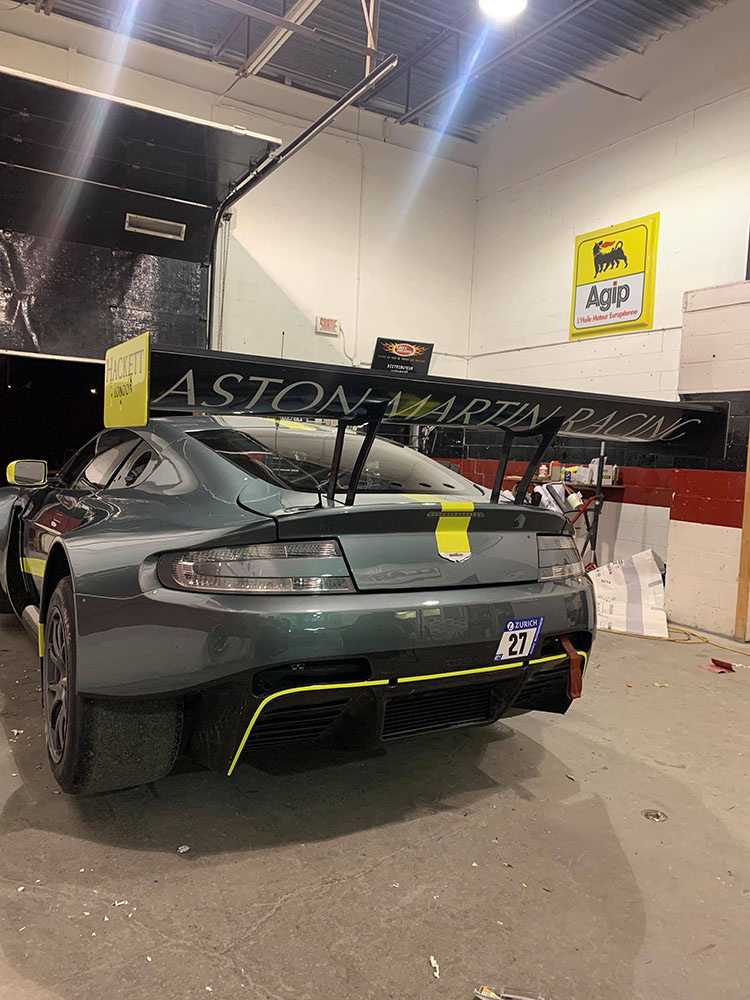
Here you can see the hardtop and rear part of the car painted in green:
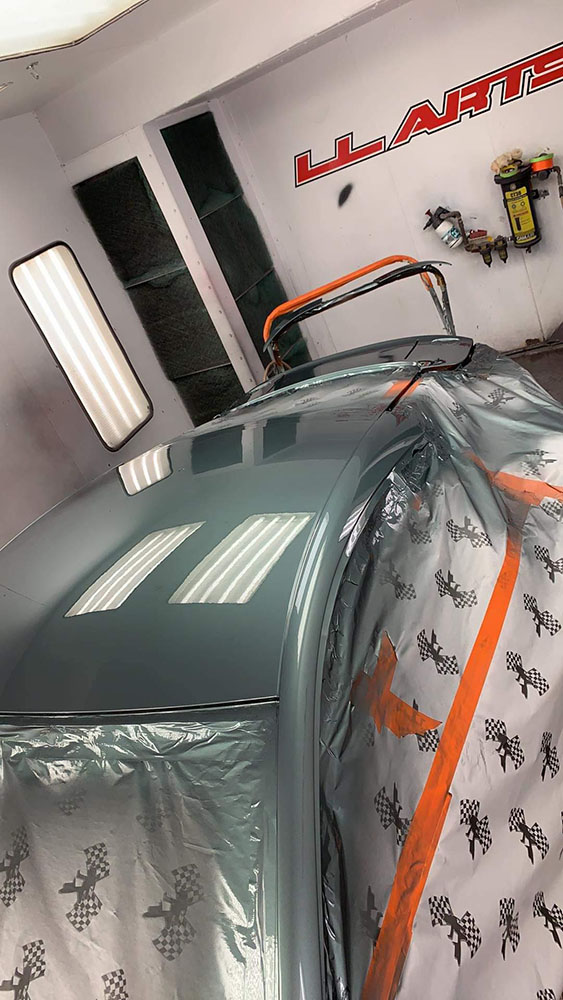
With the yellow line painted afterward:
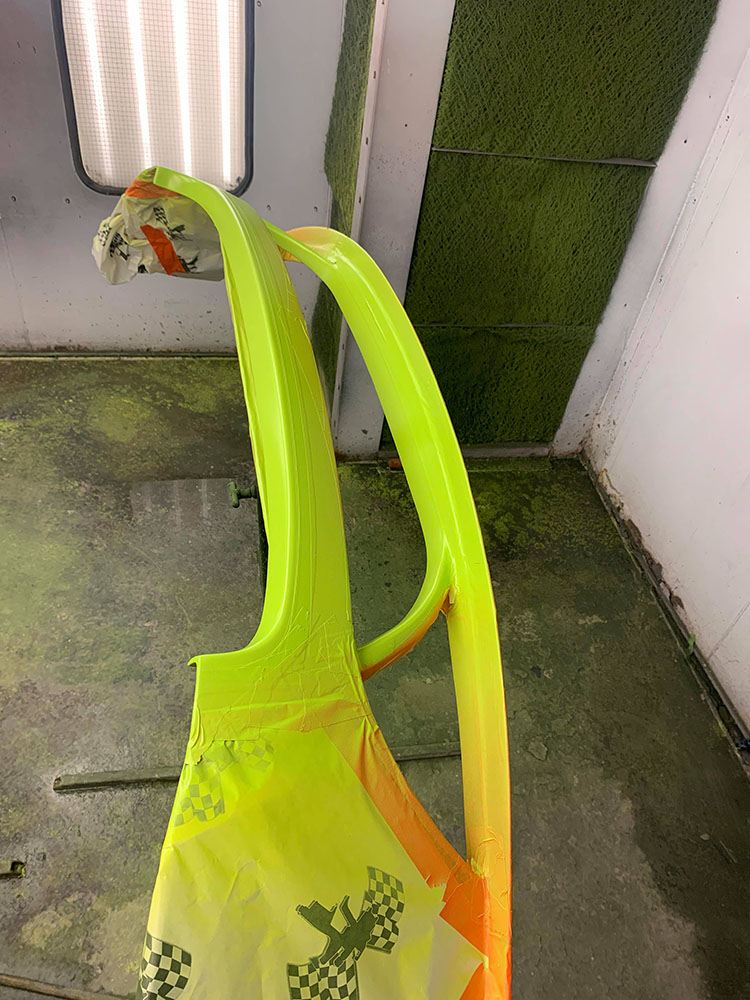
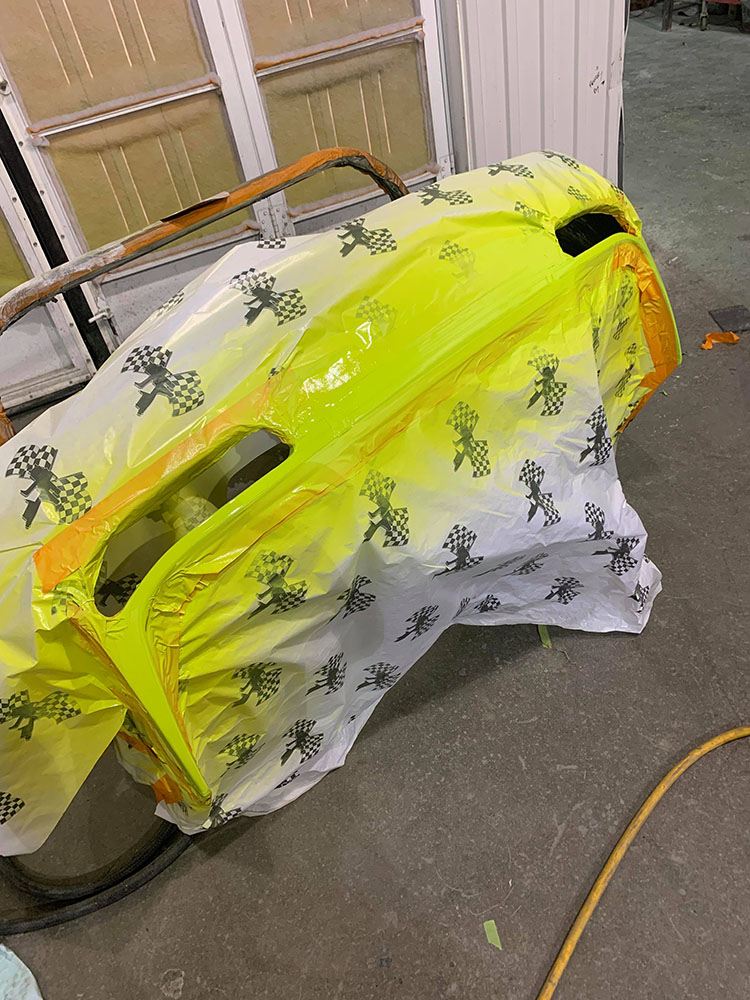
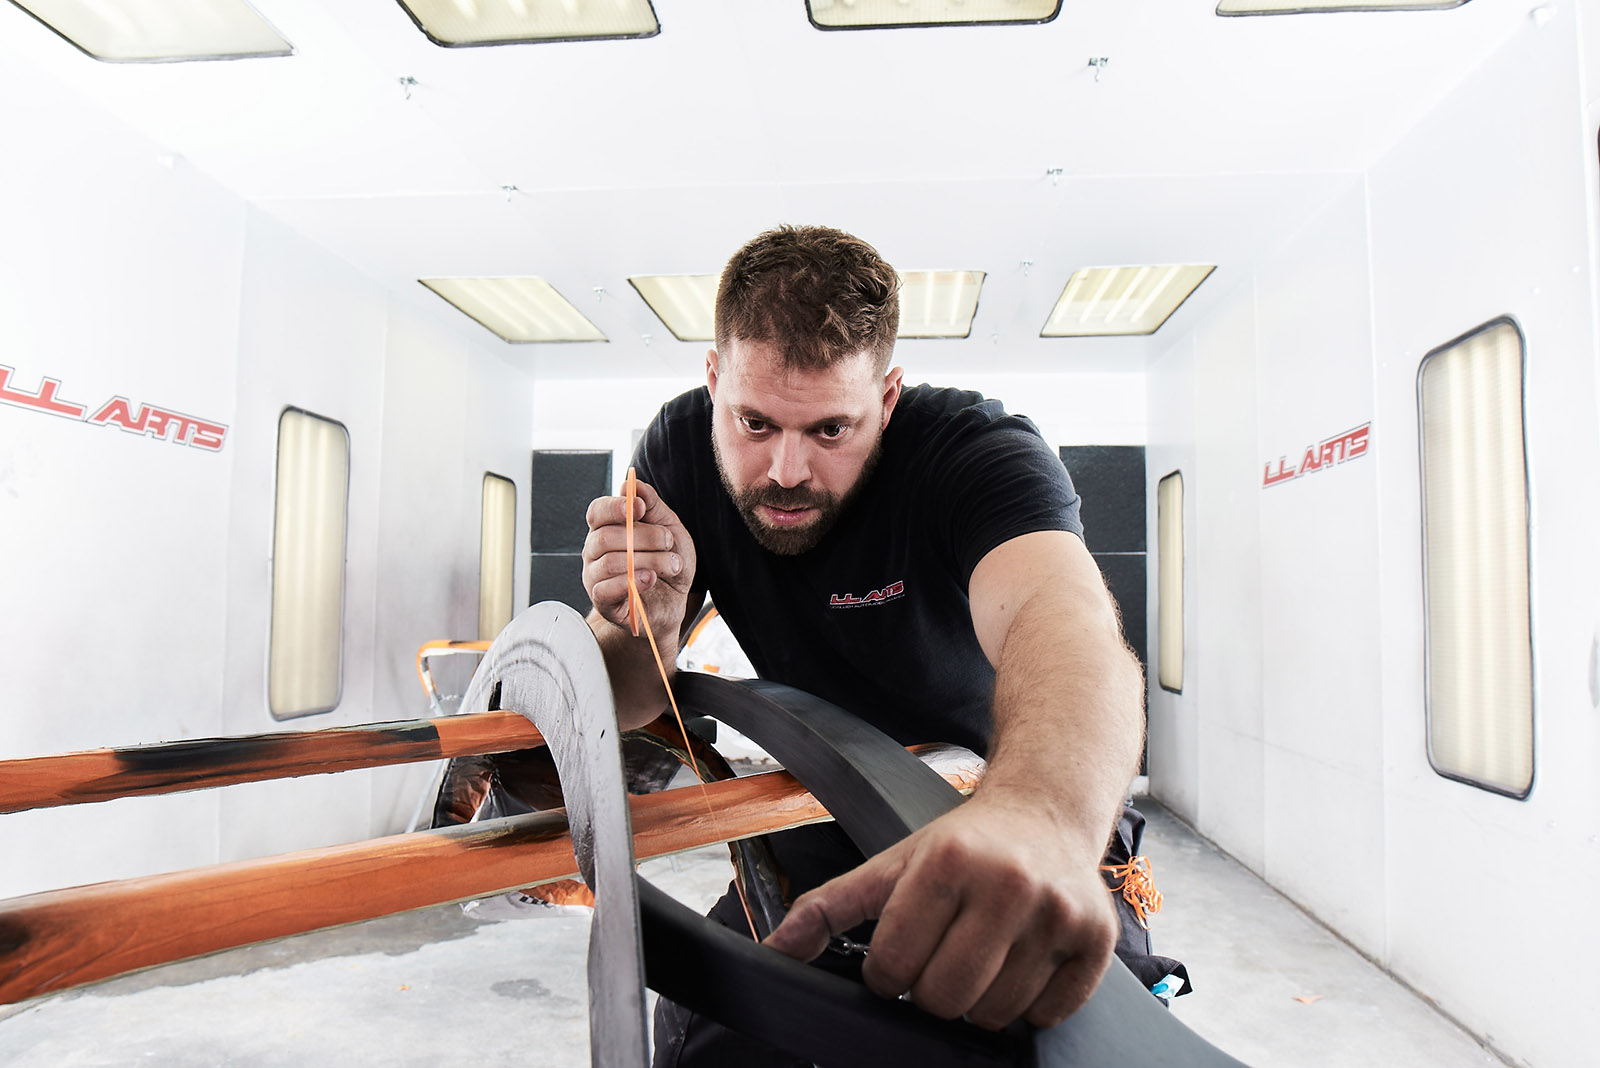
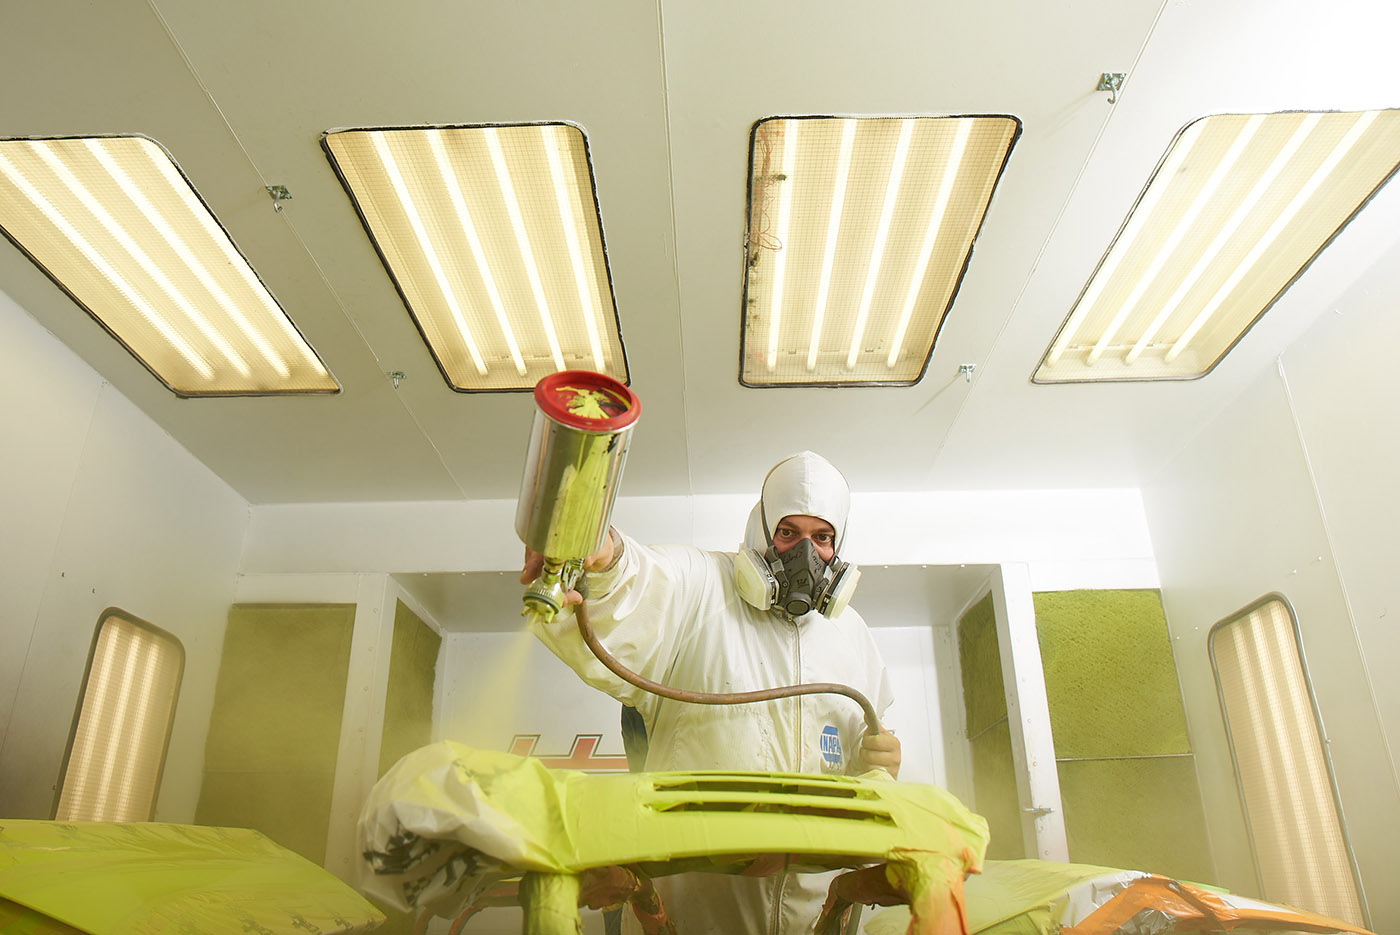
Patience, hard work, paper, and a lot of masking tape to get to this kind of result, here’s a photo of many of the yellow parts of the panels getting prep for paint:
And right after the coat of yellow the clear coat was applied:
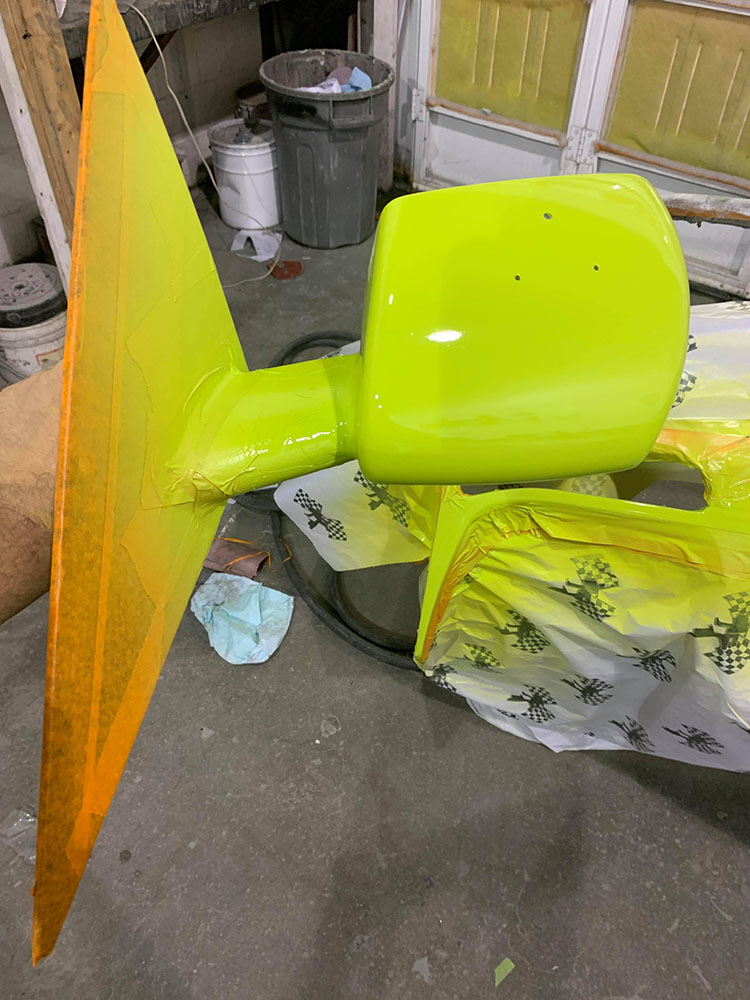
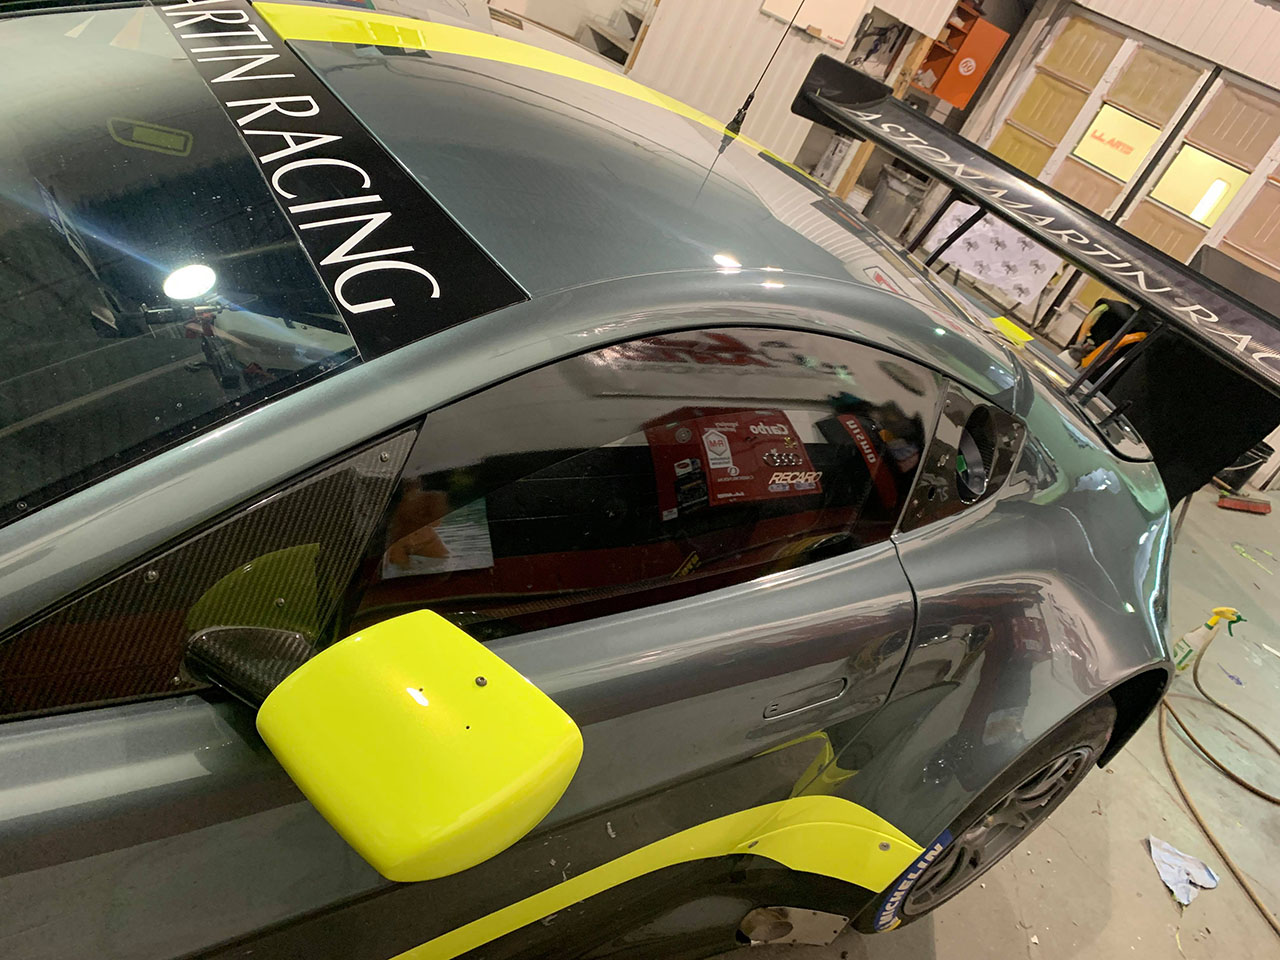
The base of the mirror was left on carbon, only the mirror cover was painted in the matching yellow to complete the color scheme of the GT3 Aston Martin:
Here’s another example of the painting process on the bumpers:
The reassembly is always the fun part, seeing the whole project coming together, very satisfying:
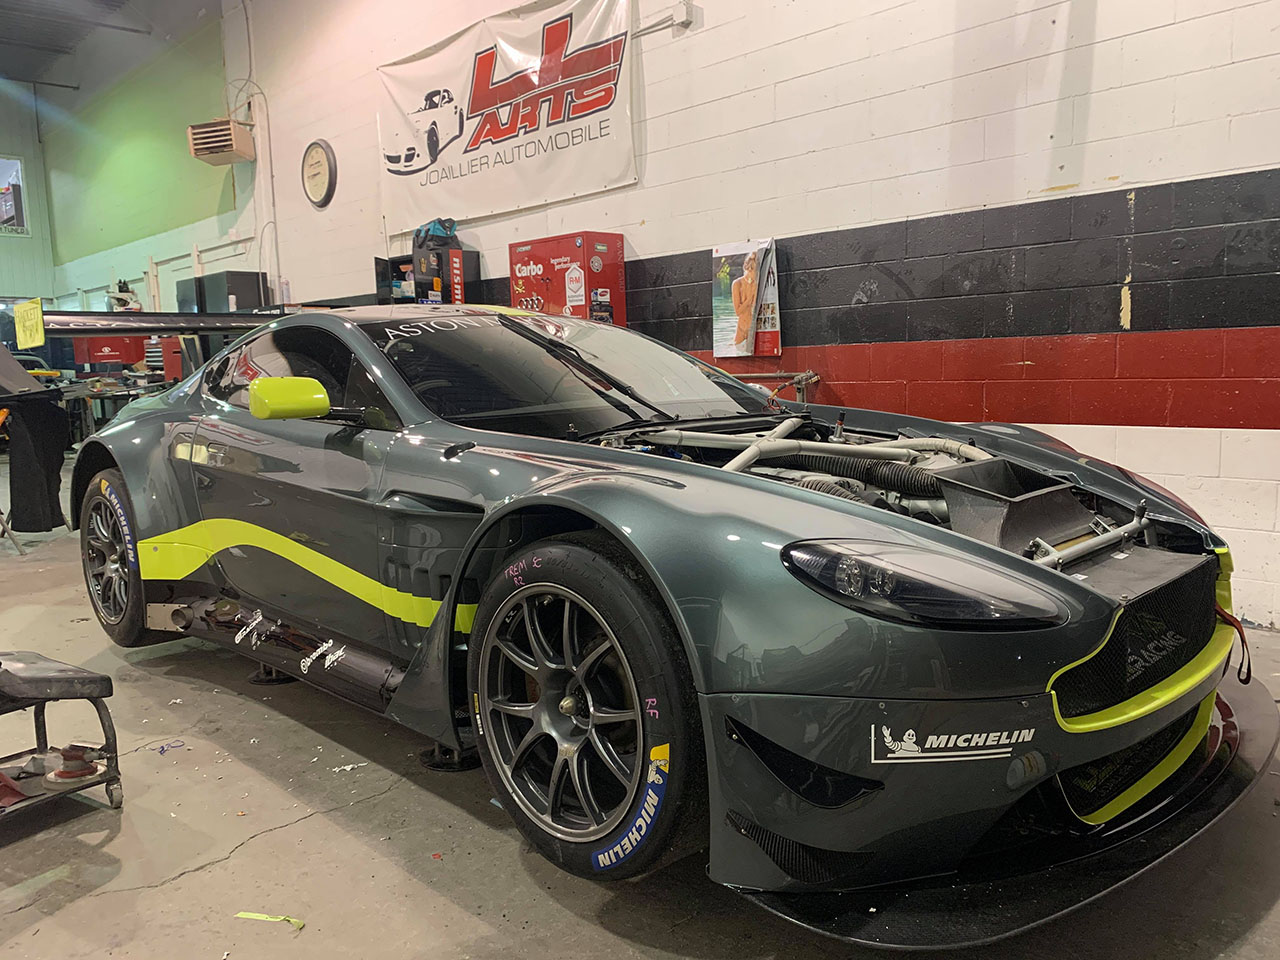

It is such a pleasure and honor to work on this car and create this beautiful piece of racing history.
If you need work like this done to your motorsport car, please contact me.
Thank you
Bonus photos of the work: